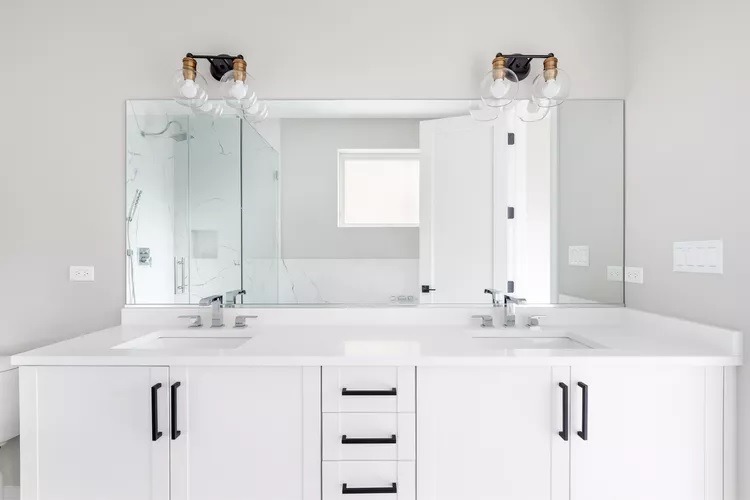
Transforming your bathroom doesn’t have to mean a full renovation. A simple yet effective way to breathe new life into your bathroom is by giving your vanity a fresh coat of paint. This guide will walk you through the steps to achieve a professional-looking finish, enhancing the overall aesthetic of your space without the need for extensive demolition.
Selecting the Right Paint for Your Bathroom Vanity
The choice of paint is crucial in areas prone to moisture and humidity, such as the bathroom. For a bathroom vanity, it’s essential to choose a type of paint that not only complements your decor but also offers durability against moisture. Semi-gloss or high-gloss paint is ideal for bathroom vanities due to its ability to repel moisture effectively, ensuring your vanity remains in pristine condition.

Materials You’ll Need:
- Semi-gloss or high-gloss paint: Chosen for its moisture-resistant properties.
- Degreaser: To ensure a clean surface for painting.
- Primer: Essential for proper paint adhesion.
- 220-grit sandpaper and a sanding sponge: For prepping the surface.
- Painter’s tape: To protect surrounding areas.
- Wood putty or filler: To repair any imperfections.
- Optional paint tray liners: For easier cleanup.
- New or existing hardware: Depending on your preference.
Step-by-Step Guide to Painting Your Bathroom Vanity
Preparing Your Vanity
- Empty and Remove Components: Clear out all items from your vanity. Using a cordless drill or screwdriver, remove all hardware, including handles, knobs, and hinges. Keep them labeled if you plan to reuse them.
- Cleaning: Apply a degreaser to all surfaces of the vanity, doors, and drawers. Wipe clean with water to remove any residue.
- Repairing: Inspect for and fill any holes or scratches with wood putty or filler. Allow it to dry according to the product’s instructions.
- Sanding: Gently sand all surfaces with 220-grit sandpaper until they appear dull, ensuring better primer and paint adherence. Remove all dust with a damp cloth.
Painting Process
- Set Up Your Painting Station: Preferably outside the bathroom to avoid moisture and ensure good ventilation. Protect your area with drop cloths and apply painter’s tape around the vanity edges and adjacent areas to avoid paint spills.
- Primer Application: Using a roller or brush, apply a bonding primer to all surfaces. Allow to dry completely, applying a second coat if necessary.
- Painting: Pour your chosen semi-gloss or high-gloss paint into a tray. Begin with the cabinet frame, using a roller for large surfaces and a brush for crevices. Follow the wood grain if visible. Apply multiple coats until the desired color depth is achieved, allowing each coat to dry thoroughly.
- Drying: Allow the paint to dry overnight, ensuring it’s completely set before proceeding to reassembly.
Reassembly and Final Touches
- Hardware Installation: If adding new hardware, drill holes as needed and attach the hardware to the doors and drawers.
- Reinstall Doors and Drawers: Carefully reattach the doors and ensure the drawers slide in smoothly. Adjust as necessary to ensure proper alignment and functionality.
Your bathroom vanity transformation is now complete, offering a refreshed and updated look to your space.


